Installation and setup of the Cisco Secure Client for Linux
1. Please download Cisco Secure Client for Linux.
We provide a DEB-Package and a RPM-Package. You will need to login with your student or employee account.
2. You will need a Terminal to proceed with the installation. Either go to your download folder and click right to select Open in Terminal or you directly open a Terminal and go to your download folder by using e.g.
cd /home/user/Downloads depending on where you downloaded the file.
3. Install the downloaded package with sudo apt install ./cisco-secure-client-linux-amd64-current.deb. If you need to install the RPM-Package you can execute sudo rpm -i ./cisco-secure-client-vpn-current.rpm instead. You could also install your package by using other software management if you prefer.
4. Upon completion you will find Cisco Secure Client in your list of installed software.
Note on Ubuntu 20.04
Please note: In version Ubuntu 20.04, it is not possible to open the terminal via the context menu in the respective folder. If this option is not displayed, open the terminal using Ctrl + T, for example, and switch to the relevant folder using the command "cd [folder path to file]".
Configuration & use

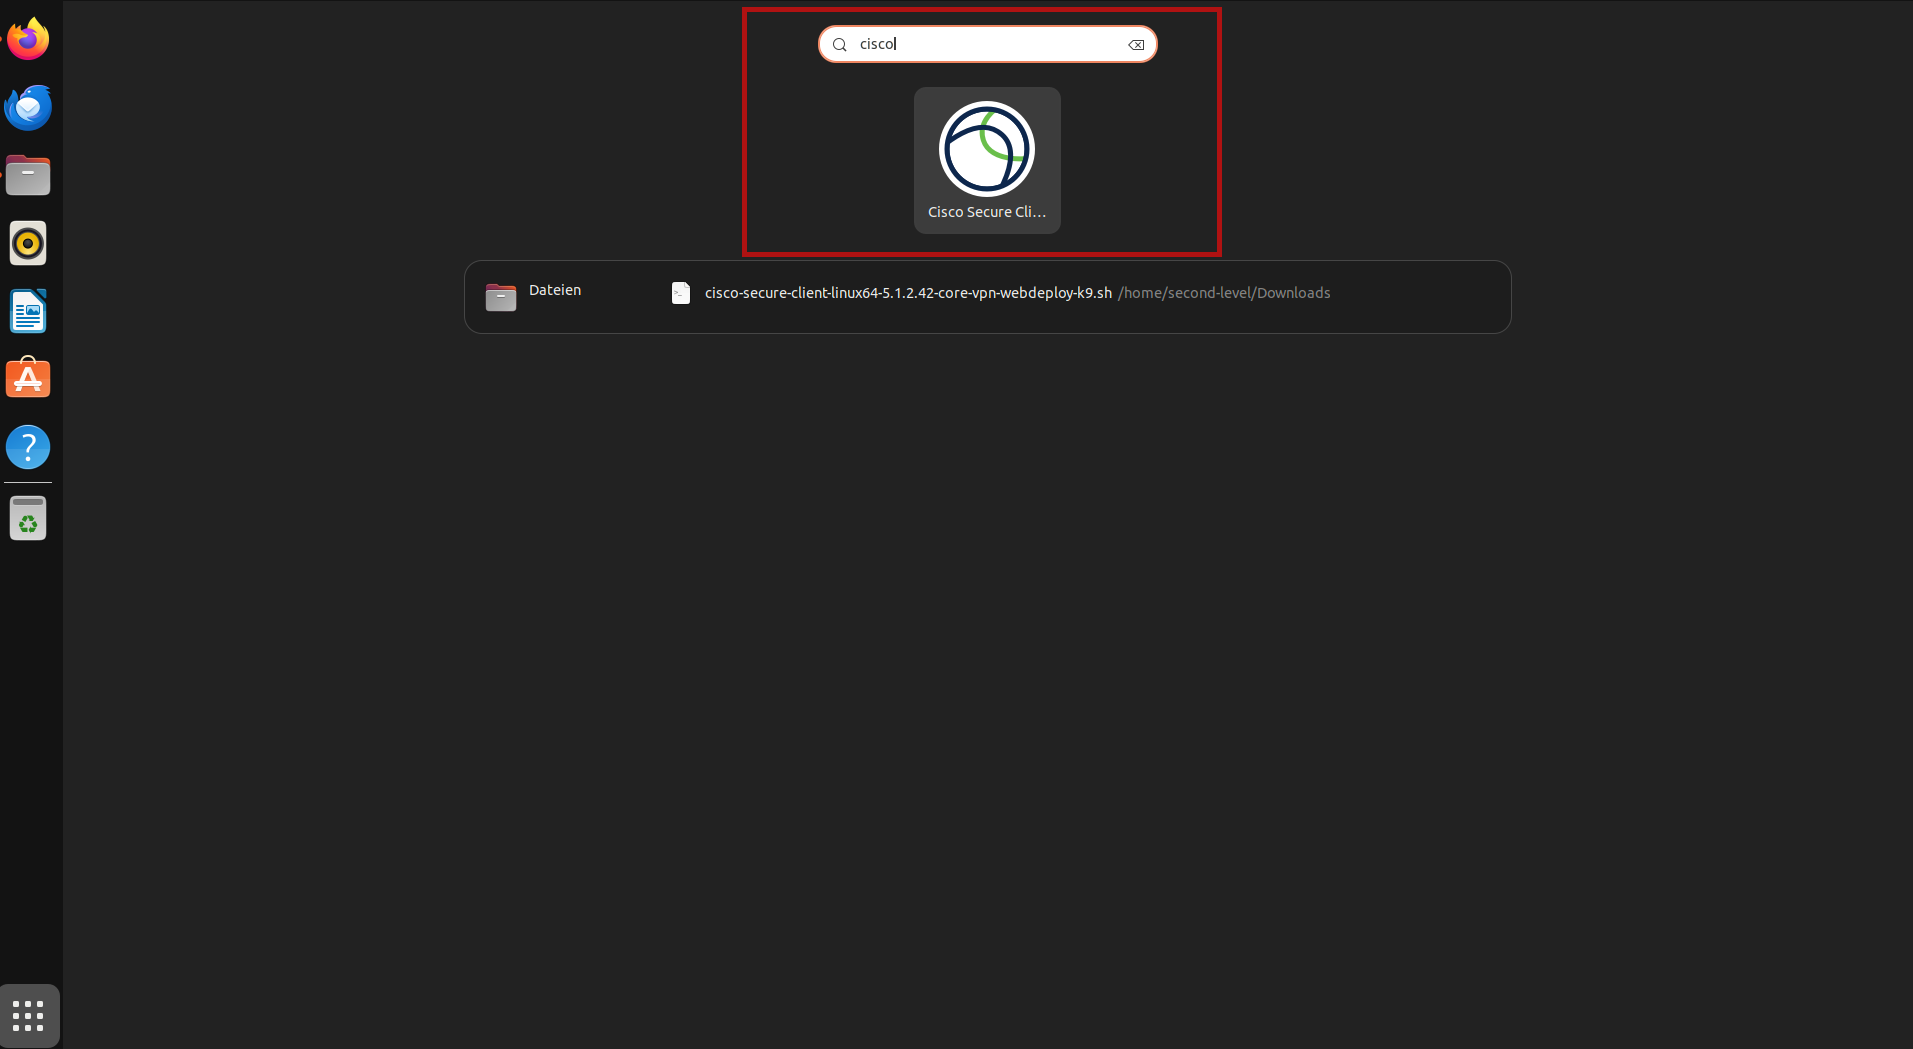

- Under your Linux distribution, search for "Cisco Secure" by clicking on the grid button at the bottom left in the case of Ubuntu (9 dots).
- Now enter "Cisco Secure Client" in the search and click on the corresponding program.
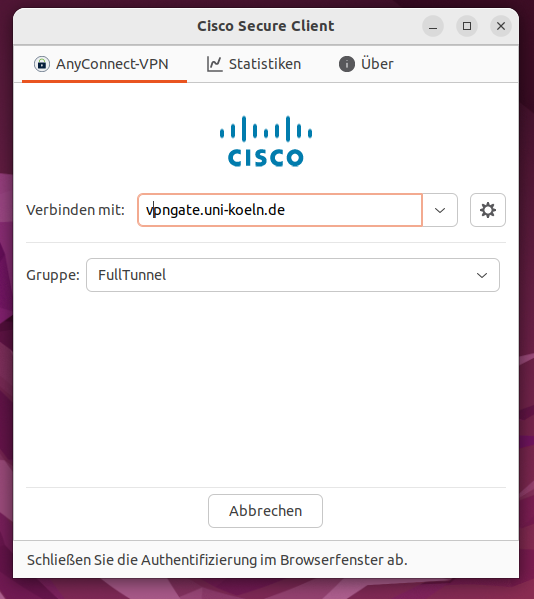
- In the new window, enter "vpngate.uni-koeln.de" as the server address (without quotation marks) and then click on "Connect".
- You will be redirected to the Shibboleth login via your standard browser. If you want to change the tunnel type, minimize the browser window and select the tunnel type in the Cisco Secure Client dialog box.
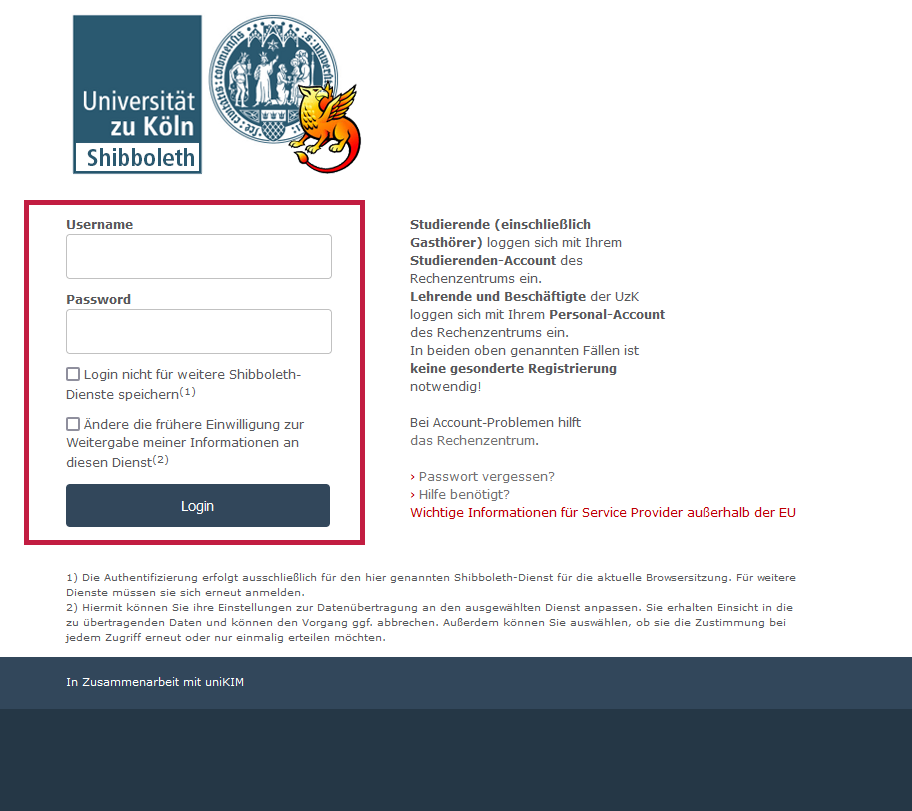
- Then log in to Shibboleth with your user name and password.
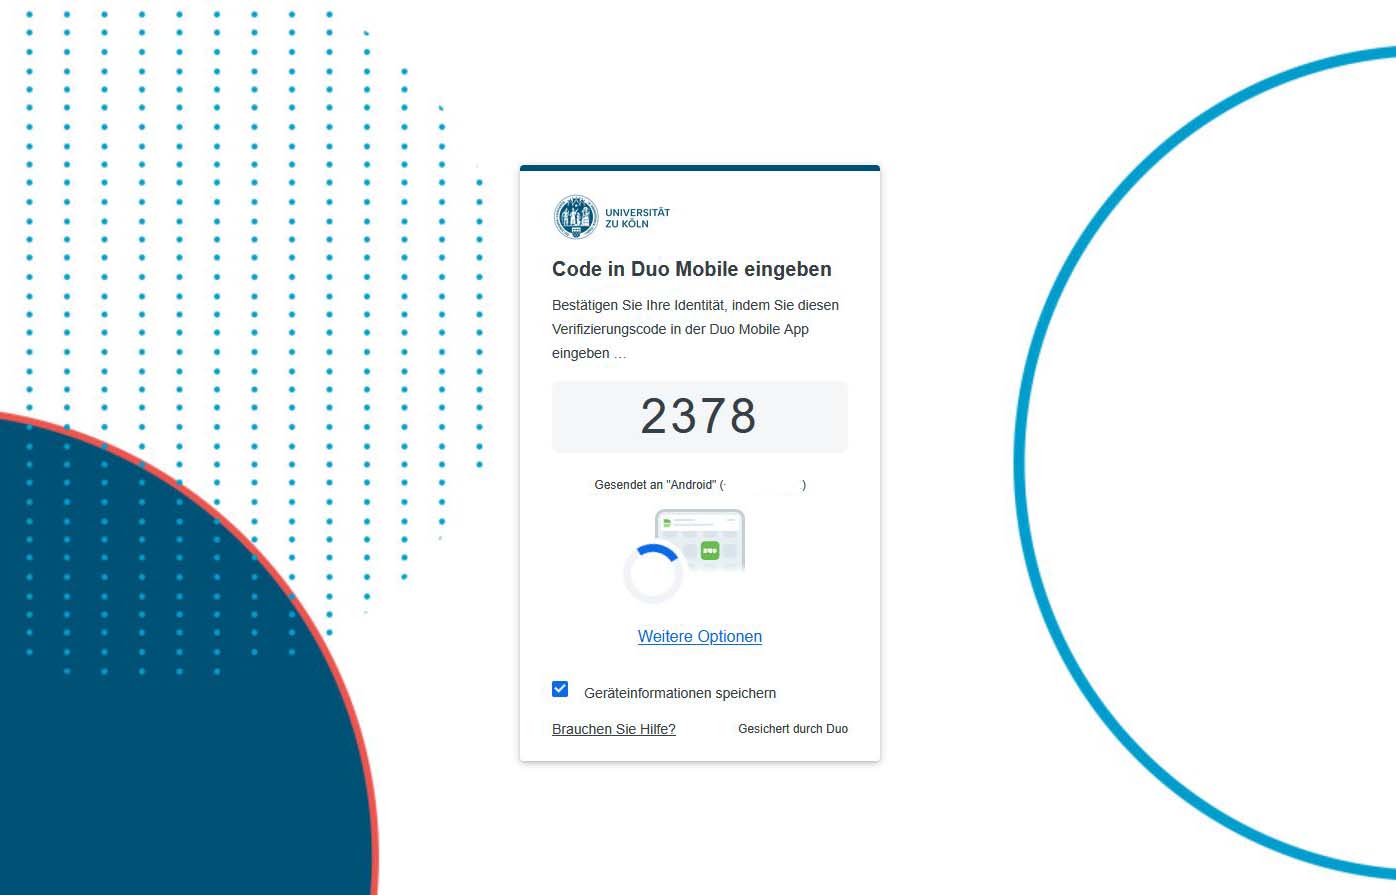
- Confirm your login in Shibboleth using multi-factor authentication with your smartphone, tablet or hardware token (the interface varies slightly depending on how multi-factor authentication is set up).
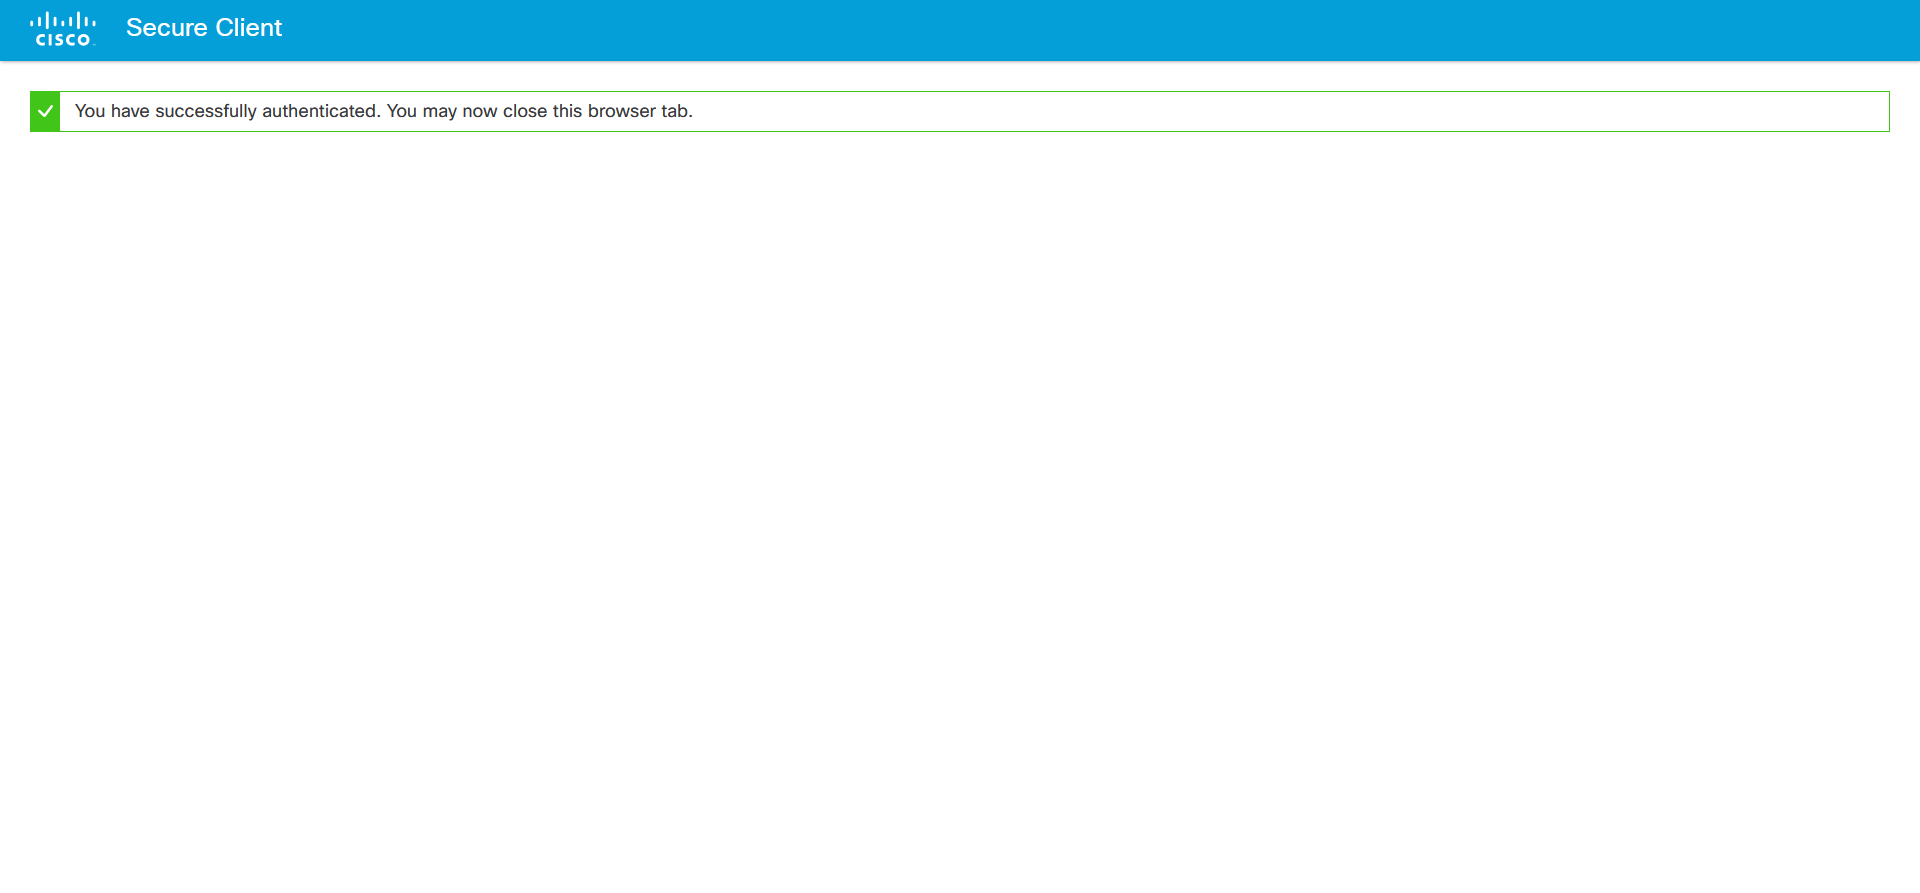
- If the login was successful, you will receive a message in your browser. You can now close it.
Troubleshooting
Error message "Not enrolled in Duo"
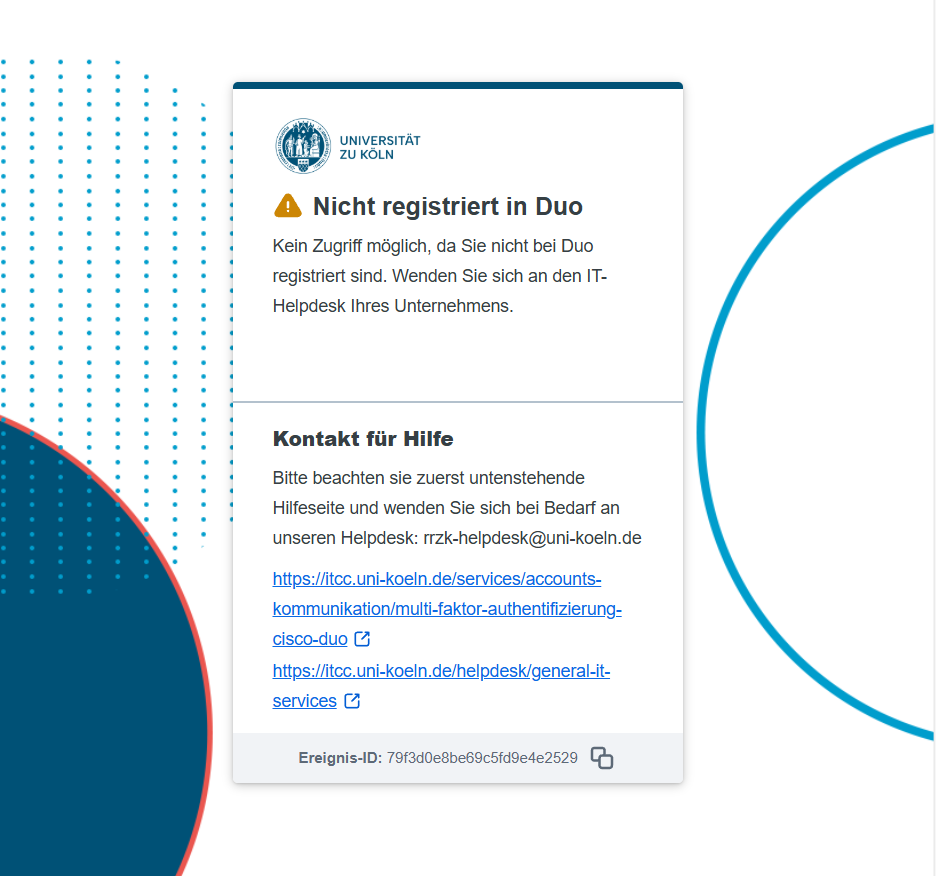
If you receive an error message with the title "Not enrolled in Duo" during multi-factor authentication, then you have not yet set up multi-factor authentication.
Information on setting up multi-factor authentication can be found here.
Message in Cisco Duo "Enter bypass code"
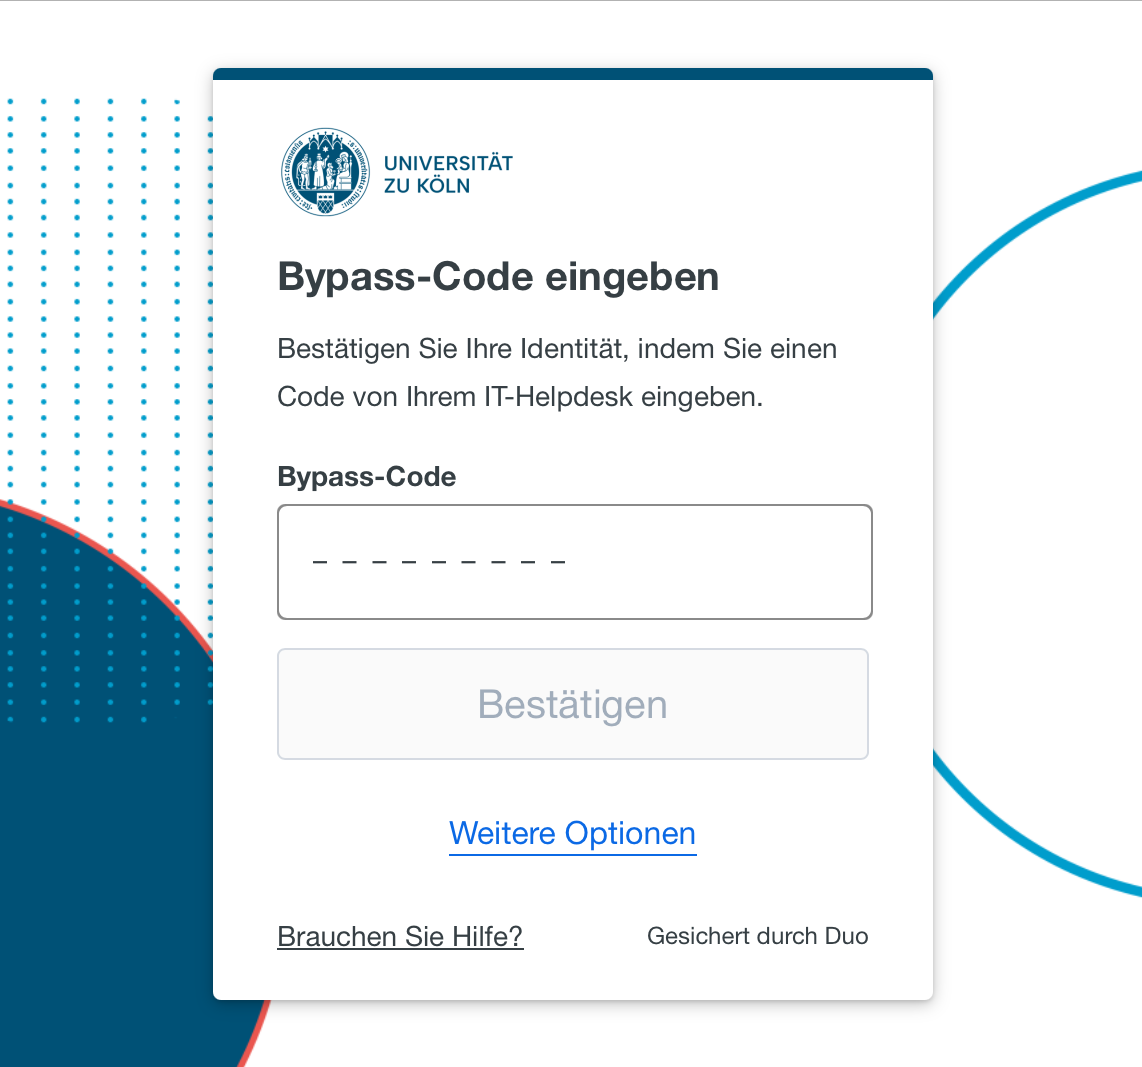
If you are asked to enter a bypass code, it is very likely that the initial registration of your device for multi-factor authentication has not been completed. Contact the ITCC helpdesk and ask to be able to carry out the initial registration again.
Then make sure that you do not interrupt the initial registration process at any point the next time.
Difficulties using the client
You can find tips on troubleshooting when using the client on our help pages:
Special cases for use under Linux
Use of systemd-free Linux operating systems
Contact
If you have any questions or problems, please contact the ITCC-Helpdesk